
Users
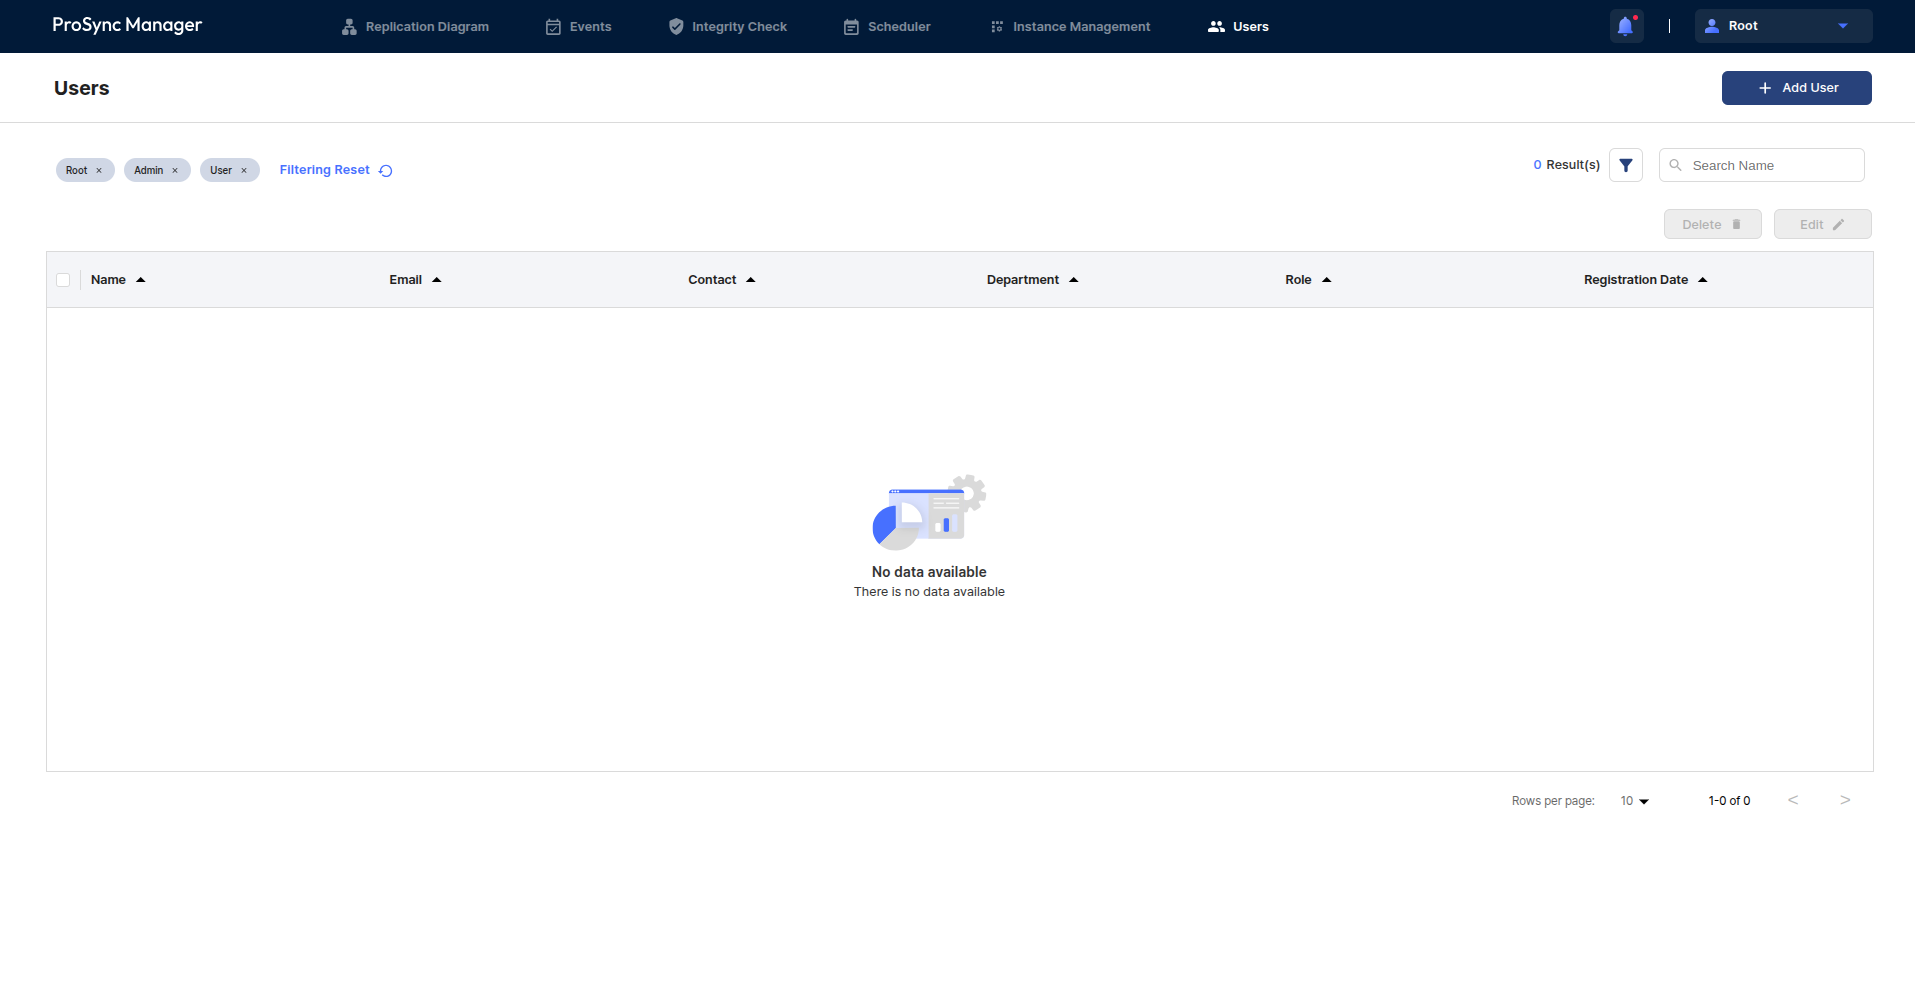
This section describes the users page, where the users can manage the users that will operate and use ProSync Manager.
The users can manage which users can run or use ProSync Manager, and this page is not accessible to users in the User Role.
User Role
Refer to the Glossary.
Users area
Add Users
The users can be added to manage and use ProSync Manager.
Filtering area
The users can search among the created Users by filtering by a specific Role and User Name.
The left side shows the items used for filtering, which can be removed from filtering via the x button to the right of each filter tag or reset with the Filtering Reset button. These items can be specified via the filter button on the right..
Delete and edit users
The registered users can be deleted and edited.
User Table
This is the table where the users can check the list with all filtering applied.
Name
The name of each user.
The email address of each user.
Contact
The contact of each user.
Department
The department of each user.
Role
The role of each user.
Registration Time
The time when the each user is registered.
Users example
Add User
Add User
Enter the user information to register.
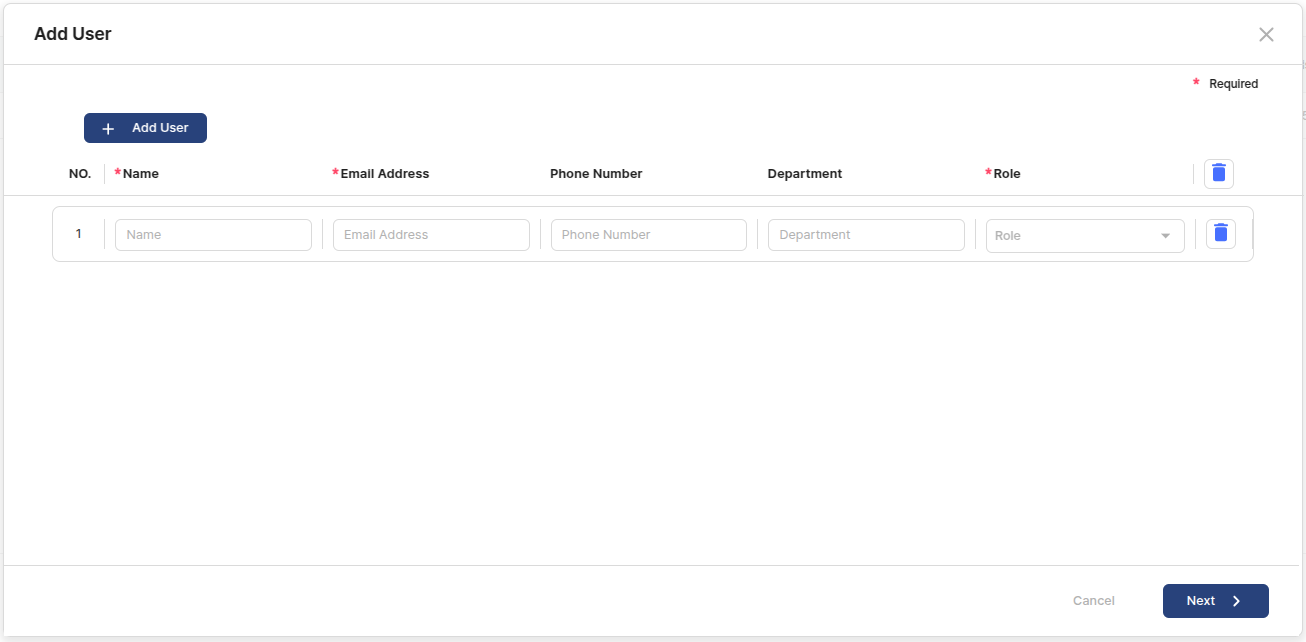
Add User
The button to add the list of user information.
-
Name
The name of users to be registered.
Y
Email Address
The email address of users to be registered.
Y
Phone Number
The phone number of users to be registered.
N
Department
The department of users to be registered.
N
Role
The role of users to be registered.
At this time, only roles with a lower rank than the currently logged in User Role can be created.
Y
The users can check the header of the list and the Delete button in each list.
The Delete button in the header resets the input and list count for all lists, and the Delete button in each list deletes the corresponding list.
Set Password
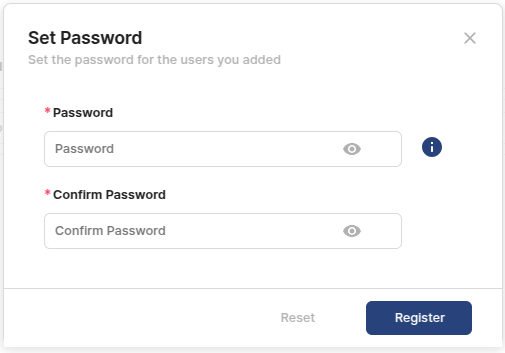
Set the password for the user to add.
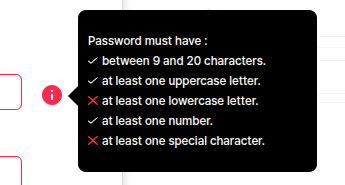
At this point, the users can check the conditions for setting the password via the info icon in the password field, and see which conditions are met and which are not.
Note
The password must meet the following conditions.
Set within 9 to 20 characters
Requires at least one capitalization
Contains at least one lowercase letter
Contains at least one number
Contains at least one special character
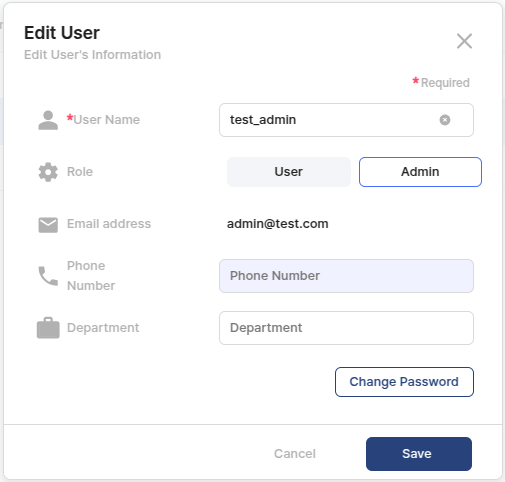
User Edit
The users can edit the registered user information.
In this case, the email address cannot be editted but the user's password can be changed.
Last updated